Create and adjust the lights
In Kanzi Studio there are three different types of lights you can use:
-
Directional light emits light only in one direction. For example, it is suitable for modeling the sunlight.
-
Spot light emits light from a specific location towards a specified direction in the shape of a cone.
-
Point light emits light from a specific location uniformly to all directions (360 degrees).
In this step you first create and position two point lights, and then set the point lights to properly light the scene.
Create two point lights
- If you are not already in the Debug and Edit, in the Preview click Debug and Edit.

- Open the Debug drop-down menu and select only Grid.

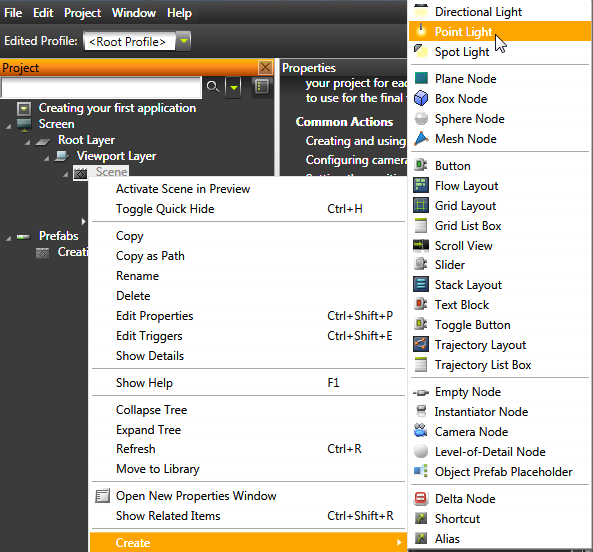
- Right-click Scene and select Create > Point Light.
Kanzi Studio places the light into the center of the scene.
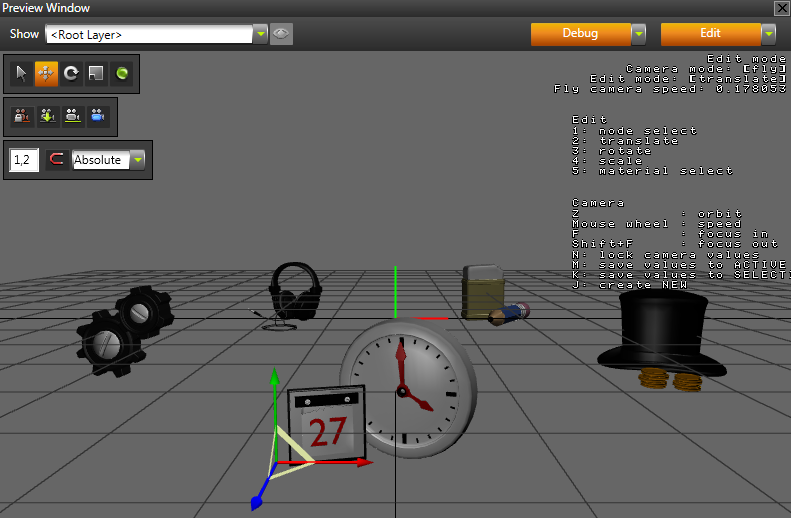
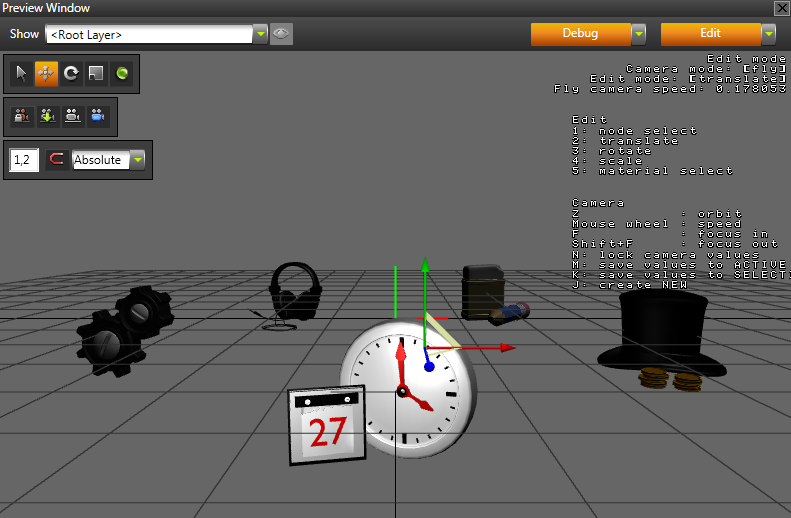
- In the Preview select the Move tool
 , and click and drag the move manipulators to place the light to the left of the object in the front.
To move an object around the scene using the move manipulators use:
- Green arrow to move the object along the y axis
- Red arrow to move the object along the x axis
- Blue arrow to move the object along the z axis
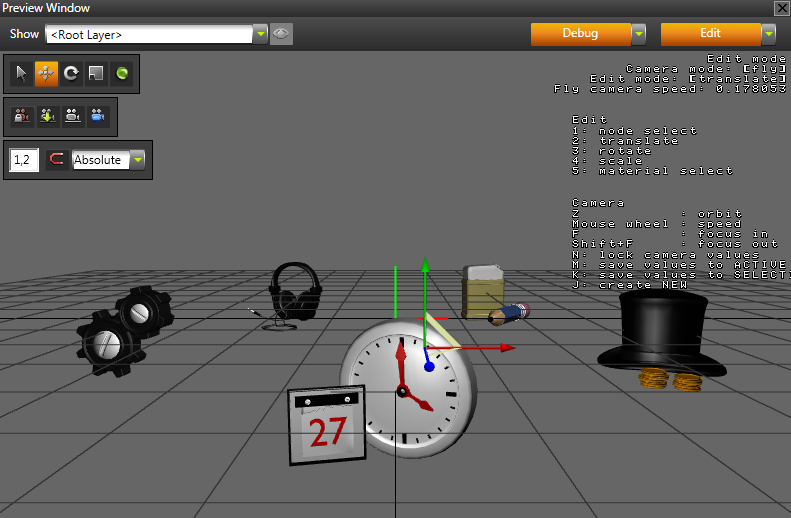
- Create another point light and move it to the upper-right side of the object in the front.
Adjust the properties for both lights
- In the Project select one of the point lights.
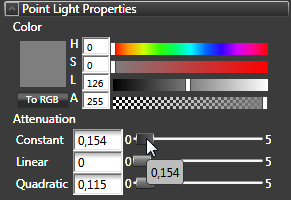
- In the Properties adjust the sliders for Attenuation properties: Constant, Linear, and Quadratic.
By adjusting the Attenuation properties you set the strength of a point light on the objects that are farther away from the light.
- Repeat the steps above for the other light.
< PREVIOUS STEP
NEXT STEP >
See also
To find out more about lights, see Lights.
Open topic with navigation